6 Easy Steps to Installing Sliding Barn Door Hardware Like a Pro
So you've seen all of the fantastic Pinterest, Instagram, and HGTV posts on all of these stunning hand-crafted custom sliding barn doors, and you're thinking to yourself, "man, I wish I could afford one of those!"
Well, have I got some good news for you! Installing sliding barn door hardware is simpler and cheaper than you think. You'll need some essentials to get started and a little bit of know-how, but as long as you follow along in this tutorial, you'll have a new custom sliding barn door hung in no time! Just wait and see.
BEFORE YOU START
Before you even start to consider installing your barn door hardware kit, you will need to know the width of your door as well as the available horizontal and vertical wall space.
If you haven't already built your barn door, we've got an awesome DIY Z Barn Door Tutorial for you to check out here.
There are a few types of hanging barn door kits you can buy, but we will focus on installing a Single Barn Door Hardware Kit for this tutorial. Once you've got the single door hardware kit down, hanging a Bi-Parting or Bypass Rail System will be much easier.
MJC & COMPANY specializes in manufacturing excellent DIY sliding barn door hardware. It's our line of hardware, and we've got plenty of top designs for you to choose from, so be sure to check out our entire hardware collection once you're ready to go.
What Size of Hardware to choose?
Choosing the correct length of hardware is super easy; take your door width and multiply that by two, and ad four inches. The reason for the extra 4" is to allow for some overhang and room for error.
Pro Tip: Remember, it's always best to have a rail that is too long rather than too short. Consider a 4" overhang the minimum to allow.
Here's the formula: (Door Width x 2 + 4")
Door Height: When considering door height, the only thing to keep in mind is the ceiling height and the available header space. You will want a minimum of 6"- 8" of header space for a comfortable install.
Pro Tip: You want to make sure you have at least 8" of header space above your door to be on the safe side. Eight inches will usually be enough space for most hanger designs.
INSTALLATION TIME!
Now that you've chosen the correct size for your MJC & Company barn door hardware, it's time to start the installation process. Let's get started.
STEP 1: ATTACH THE HANGERS (wheels)
First, you want to mount the hangers on the top of your barn door, one near each corner.
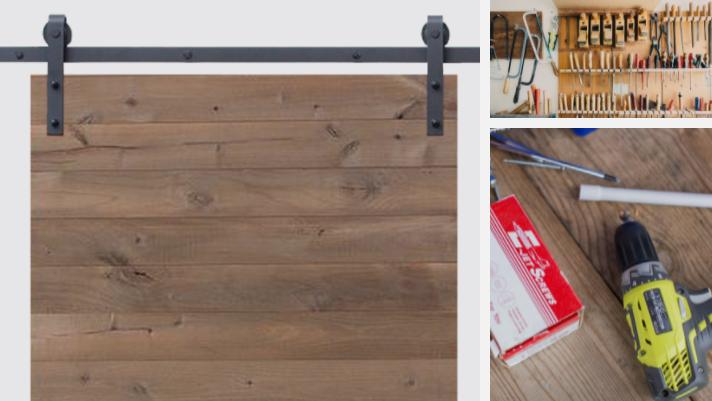
Tools Needed
Speed square
Clamps
Drill
Drill Bit - 3/8" - 1/2"
Tape measure
Depending on the style of door you are hanging, the final placement of the hangers will vary. They should be installed 3" - 6" from the edge of your door to the center of the hanger. Experiment with different placements to see what measurement looks the best for your specific application before proceeding. Be sure not to go too close to the edge.
Once you've found the right placement, grab your speed square, and slide the hanger up to it and temporarily clamp it in place, making sure it doesn't shift in position. Now that you've found the right horizontal position, it's time to get the vertical placement correct before drilling your holes.
Depending on your wheel size, the vertical placement will vary. The easiest way to figure the upright position is to measure the width of your rail + the width of the anti-jump cap + 1/2 the depth of the groove in the wheel. The total value will be the gap between the top of your door and the bottom of your hanger wheel.
Vertical Placement Formula for Hanger: (width of rail + width of anti-jump cap + 1/2 the depth of the wheel groove) = Total gap between the top of door and bottom of hanger wheel.
Go ahead and drill 3/8" - 1/2" holes through the door using the pre-drilled holes in the hanger as a guide. Insert the hex bolt with the head facing towards the wall and the acorn nut on the opposite side. Make sure to slip a washer on both ends of the bolt before screwing on the acorn nut.
Pro Tip: By installing the flat bolt head on the inside of the door facing the wall, you will prevent the bolt head from rubbing the wall when opening and closing. If needed, you can also slightly countersink the bolt head into the backside of the door so that it's flush with the door face.
Repeat the process on the opposite corner of the barn door and tighten both sides thoroughly. Now you're ready for the next step.
STEP 2: INSTALL A HEADER BOARD
Most barn door rails come standard with pre-drilled installation holes at every 16" OC; however, most older homes or door openings may not have the studs properly positioned the barn door rail. For this reason, we recommend that you use a header board above your door for installation. You can use whatever size board you want; the most common size is a 1X4 or 1X6. You can either paint the header to match the door, wall or even use a contrasting color to make it pop. It's your call, so get creative!
You can use whatever size board you want, I recommend using a 1X4 or 1X6. You can either paint the header to match the door, wall, or even use a contrasting color to make it pop. It's your call, so get creative!
Header Board Height: The center of your header board should be about 2" above door height (Door Height + 2")
STEP 3: MOUNT THE RAIL (to header board)
The rail height will vary by hanger design; however, the rough measurement should be about 2.25" above door height. This will leave a roughly 1/2" gap underneath your door and about 1.75" of clearance from the center of your rail to the top of your door.
Pro Tip: If your floor is uneven, take your measurements from your floor's high side to find your center point for the rail to ensure your barn door won't drag the floor when being opened/closed.
Overhang the edge of the rail 3"-5" and mark your first hole on the header board. Pre-drill the hole with a 3/16" drill bit. Holding one side of the rail up, place one of the rail spacers (wide flange against the wall) and line up the rail's first hole with the spacer. Snug the bolt but don't tighten it all the way just yet.
Using at least a 4' level, mark a straight level line from the center of the spacer you just attached across the entire length of the door. Swivel the rail up and mark each hole for the remaining spacers and bolts.
Attach the far end side of the rail first and continue with the rest of the holes, placing one spacer (wide flange against the wall) and bolt per pre-drilled hole.
STEP 4: ATTACH YOUR FLOOR GUIDE
Next, you are going to need to install a floor guide. If you bought an MJC hardware kit, then there is a T-Guide standard in each package. Another option for a floor guide is an adjustable wall-mount guide.
a. T-Guide Installation: For the T-Guide, you will need to cut a groove in the bottom edge of your door for the guide to slide through. The groove should be directly in the center of your door. Make sure the door is plumb in the hanging position before making fastening to the floor.
b. Wall-Mount Guide Installation: The wall-mounted floor guide is super easy and convenient. It's typically sold separately but will save you the hassle of having to groove out your door. And since it's wall-mounted, it's a lifesaver when installing over a carpet, concrete, or tile floor.
NOTE: Both the T-Guide and Wall-Mount floor guide will mount on the door jamb's edge on the closing side. Make sure you position the floor guide in a way that it is supporting the door when fully opened and closed.
STEP 5: HANG YOUR DOOR
After the floor guide is in place, carefully hang your barn door and slide it through the floor guide.
NOTE: Make any final adjustments to the guide if needed to ensure the door is plumb without holding it into place.
STEP 6: POSITION DOOR STOPS IN PLACE
Position your barn door into the fully closed position and slide one of the doorstoppers up against the door. Tighten that down all the way.
Slide your door into the fully opened position (carefully ensuring you do not slide it completely off the rail) and install the second doorstop in the same way.
Congrats! You now have a fully functional sliding barn door that you installed yourself.
Now sit back, relax, and enjoy your awesome sliding barn door!
Click the links below to view our recommended barn door hardware
Thank you so much for awesome installing guide. It will be great if you have an video on it. However, keep up the great work, I am looking for more guide from you.
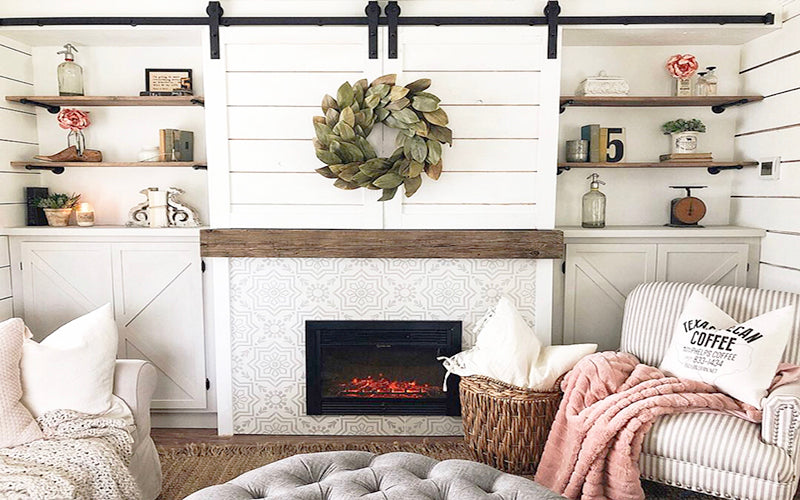
Barn doors are a great addition to any space in your home. Whether it be redesigning your entryway into the kitchen, improving the functionality of your pantry, closing up your entertainment center, or just adding an accent piece to your wall, barn doors have a variety of uses.


James Williams
December 08, 2020
Thank you so much for awesome installing guide. It will be great if you have an video on it. However, keep up the great work, I am looking for more guide from you.
Regards
James Williams
https://homerdiy.com/